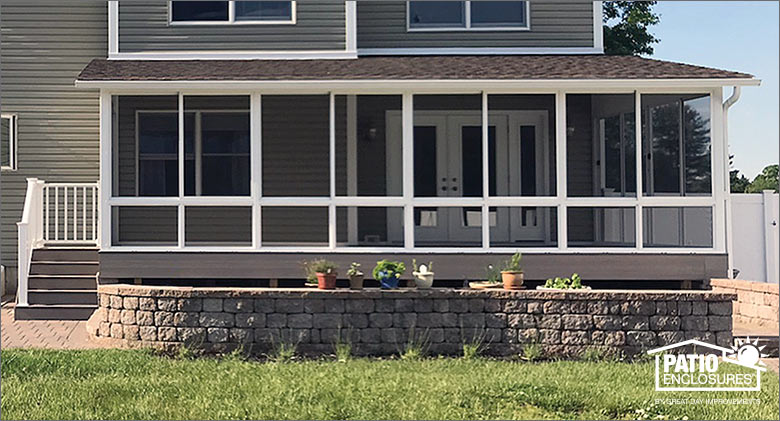
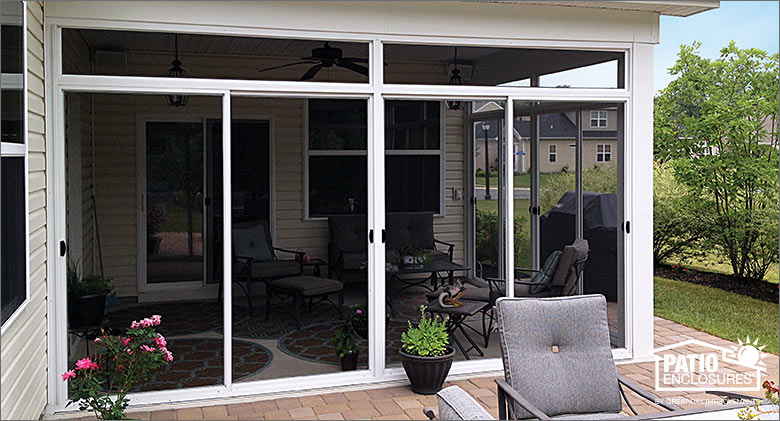
Lanai, porch, patio or veranda? These terms are often considered fairly synonymous and, depending on who you ask, there is no difference. However, there are distinct characteristics that separate the four outdoor living spaces. The simplest of outdoor spaces is the patio, which is characterized by a simple exterior grade flooring such as concrete, brick or paver. Porches, on the other hand, are often roofed extensions on the front or back of the house. Porches that wrap around the sides or go all the way around the house are often considered verandas. Then there is lanai. Lanai porches are characterized by their screen enclosures. Like porches they have a roof and may have many amenities like furniture or even an outdoor kitchen, but the screened partitions are its defining character. Of course, in some designs these screens may be removable making classification even more challenging.
Outdoor Living Spaces Styles & Characteristics
- Patio - Basic, hardscape ground layer (i.e., brick or paver)
- Porch - Roofed extension of front or back of house
- Veranda - Also known as a wraparound porch, open, and roofed
- Lanai - Screened-in porch or veranda, screens may be removable
Lanai porches take their name from the Hawaiian island of Lanai, on which the design is said to have originated. In fact, the lanai is a common feature on many buildings in Lanai, if that makes sense. An interesting note, many of the Lanais in Hawaii, including Washington Place, the historic residence of Queen Liliʻuokalani (the last monarch of Hawaii), lacked screens. Nevertheless, lanais are generally considered screened-in.
Looking to add a lanai patio or porch to your home? View the lanai enclosure photo gallery and then schedule your free in-home cost estimate.
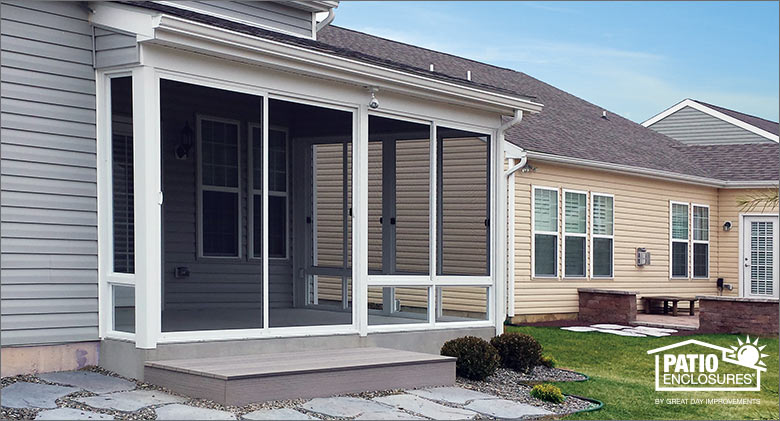
How to Repair a Lanai Porch
Lanais have large screened areas, so rips, tears and holes are fairly common. Repairs can be easy but time consuming and there is a learning curve to working with screen. Often people resort to the easy way out, simply punching out the screen, thus leaving an open porch instead. However, not only does this depreciate the value of the porch but the bug-free benefits of the lanai are lost. Instead of enjoying a nice summer night watching lightening bugs and the stars emerging you’re left swatting mosquitoes and watching the bug zapper work overtime.
How to repair the screen will depend on the style of screen and frame you have. There are three basic types of frames:
- Wood
- Vinyl
- Aluminum
Wood framed screen porches look beautiful especially on unique custom work. However, wood framed screen panels have a list of maintenance issues to contend with including rot, repainting, nail rust, stains, and fastener loosening. The screen in a wood frame is retained between the frame and a lathe and is further held in place by staples. Repairing the screen in a wood framed screen panel is fairly easy but requires several hand tools.
Vinyl and aluminum framed screen panels require less maintenance and retain the screen differently than the wood framed screen panels. In these styles the screen is held in a small channel built into the aluminum or vinyl frame by a thin tubular gasket called a spline. Replacing screen in these styles is not difficult either but requires a specialized tool known as a spline tool. A spline tool is a simple tool with a wood or plastic handle and two small wheels on each end. One of these wheels has a concaved edge and the other wheel has a convex edge. The convex edge is used to work the screen in the channel and concaved edge is used to work the spline over the screen.
A quick note on spline: Spline can come in several different sizes. In order to get the proper size, you can either buy several rolls of different diameters or you can cut a small sample from the spline you intend on replacing and size up the new spline to the old.
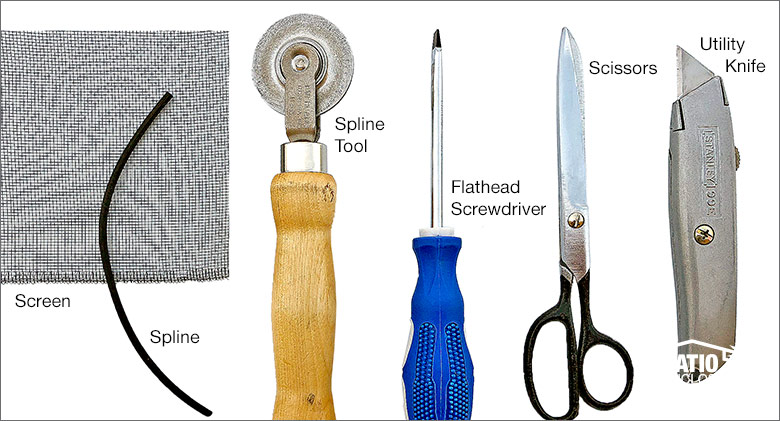
To replace screen in vinyl or aluminum framed screen panels you will need the following tools:
- Replacement screen
- Replacement spline
- Small headed tool (awl, thin flathead screwdriver, etc.)
- Scissors
- Utility Knife
- Spline Tool
Steps to Repair a Screen
- Find the end of the spline in the spline channel. The spline should start and stop in roughly the same area. Use the small headed tool to dig the end of the spline out of the channel and work the entire length of the spline out of the channel. Note: Over time the spline can dry rot so take your time as you remove it.
- Remove the damaged screen and clean the channel out. This can be done either by simply blowing the channel out or using a paper towel, rag or small brush.
- Roll the replacement screen over the frame and cut it using the scissors so that there is approximately one inch of excess on all sides.
- Using the convex edge of the spline tool work the screen into the channel. Start on one edge first to get the edge lined up properly.
- Using the small headed tool, push an inch or two of the spline into the channel. (Starting on the long side of the screen helps keep the screen as square as possible.)
- Once the spline is started, use the concaved edge of the spline tool to work the spline into the channel along the first side. Take your time to make sure you keep the screen as straight as possible. Make sure not to pull the spline as you work it into the groove because even though it makes it easier to insert the spline into the channel, it will later retract and leave a gap in the channel.
- As you reach the corner, use the convex edge of the spline tool to work the screen into the next side.
- As you begin the spline down the next side of the frame use the small headed tool to work the spline into the corner. As nice as the spline tool is to use it is difficult to get the spline into the corner.
- Continue this all the way around the frame until you reach your starting point. Using the utility knife cut off any excess spline.
- Finish removing any excess screen by cutting the screen along the outer edge of the screen channel.
While replacing the screen is not labor intensive there is a learning curve to the task. . While trying to remove any slack in the screen, it is easy to pull the screen too tight as you work it into the channel. This can, in some cases, pull the frame in. In general, this is not a task recommended for beginning DIYers.
Hire a Professional
If this all sounds like too much hassle, consider having Patio Enclosures replace the old screen with a brand-new screen room. With a multitude of options to choose from and custom design and manufacturing, we can create a new room that complements your home and your style. Schedule a free in-home design consultation today or call 800-230-8301.
Learn More About Our Screen Rooms
 You May Also Be Interested In: