In this post, you will learn…
- The benefits of winterizing your screen porch and outdoor space
- Six steps on winterizing your screen porch
- Upgrading a screen porch to a three-season room
Preparing your screen porch for the cold months ahead is crucial as winter approaches. Winterizing your porch saves energy and extends your outdoor space throughout the year. This guide will walk you through the six essential steps to properly winterize your screen porch.
What are the Benefits of Winterizing Your Porch and Outdoor Spaces?
Before we dive into the steps, let's understand why winterizing your porch is so essential:
- Energy Savings: By sealing off drafts and insulating your porch, you'll reduce heat loss and save on energy bills during the winter.
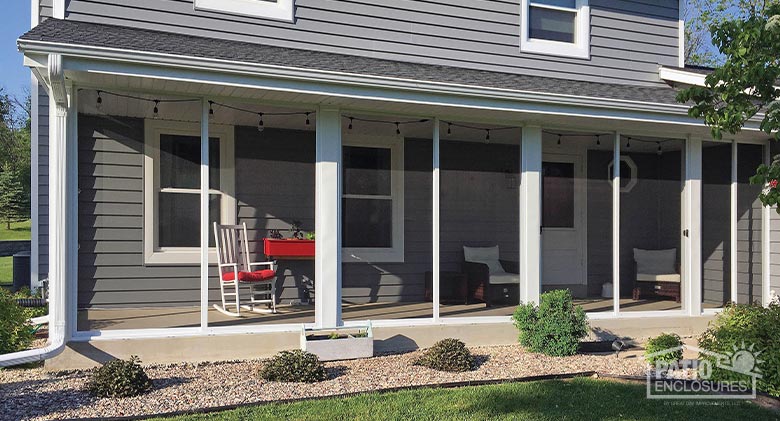
- Extended Use: A well-prepared screen porch allows you to enjoy the outdoors comfortably, providing a space for relaxation, entertaining, and taking in the winter scenery.
6 Steps on How to Best Winterize a Screen Porch
Winterizing your screen porch is worthwhile. It begins with a thorough assessment and planning. Here are six steps to ensure your porch stays cozy and protected all winter long:
- Step 1: Inspect Screens and Porch
- Step 2: Create a To-Do List
- Step 3: Write a List of Materials You'll Need
- Step 4: Establish a Timeline
- Step 5: Prioritize Safety Before You Begin
- Step 6: Create a Maintenance Plan
Step 1: Inspect All Screens and the Porch for Damage and Wear
In order to winterize your screen porch, begin by conducting a comprehensive inspection. This step aims to identify potential issues that need to be addressed. To get started, follow these steps:
- Screen Assessment: Carefully examine all porch screens. Make sure there are no holes or tears. Regardless of how small a gap may be, it can admit cold air and unwanted pests, diminishing your winterized home's comfort.
- Structural Integrity Check: Inspect your porch's overall structural integrity. Ensure it's in good condition and withstand winter weather, including snow, ice, and strong winds.
By starting with a thorough inspection, you'll understand the condition of your screen porch. You'll also know what specific repairs or preparations are needed for a cozy and secure winter space.
If your screen porch is a Patio Enclosures screen room, consider contacting your local Patio Enclosures location to address screen-related issues.

Step 2: Make a Checklist of What Needs to be Done
To ensure your screen porch is winter-ready, planning and making a checklist of tasks is essential. By creating a checklist of these tasks, you can ensure that your screen porch is prepared for the winter season. Your list should include the following actions:
- Clean the Screens
- Thorough Porch Cleaning
- Remove Warm-Weather Decor
- Protect Indoor Plants
- Cover Outdoor Furniture
It is important to thoroughly clean your porch before winter, so mold and mildew will not grow. Start by cleaning all porch screens. Remove dirt, debris, and cobwebs. A clean screen will look better and function more effectively at keeping out the cold. Sweep away leaves, dust, and grime. Scrub surfaces as needed to maintain a fresh and inviting space.
Next, remove any decorations and bring potted plants and other seasonal items indoors. Store these items properly to prevent damage or wear during winter. For decor, this may include outdoor cushions, decorative items, and textiles unsuitable for cold weather. If you want to protect your plants from colder temperatures, place them on a windowsill indoors.
Finally, cover your outdoor furniture to prevent winter weather damage. Use weather-resistant covers or tarps to protect your belongings from snow, rain, and freezing temperatures.
Step 3: Write a List of Materials You'll Need
Gather the following materials for a successful winterization project. Here is a list of materials that could be on your list:
- Weather stripping to seal gaps
- Caulk and sealant for cracks and crevices
- Plastic sheeting or clear vinyl for added insulation
- Heavy-duty plastic or outdoor curtains to block wind and cold.
- Hardware such as screws and nails for securing materials.

Step 4: Establish a Timeline
Creating a well-thought-out timeline is crucial for a smooth and efficient winterization process. As a result, you can keep your space cozy and protected before the winter season arrives.
Step 5: Prioritize Safety Before You Begin
Safety is paramount whether winterizing your screen porch or performing another home improvement project. Before you begin winterizing, ensure the porch is clean and debris-free. Clear away leaves, dirt, and potential tripping hazards. A clean surface provides a safe work environment.
Assess the tasks you'll perform during winterization and determine if safety gear is necessary. Depending on the nature of the work, you may need:
- Gloves
- Safety glasses or
- Other protective equipment
Always err on the side of caution when it comes to personal safety.
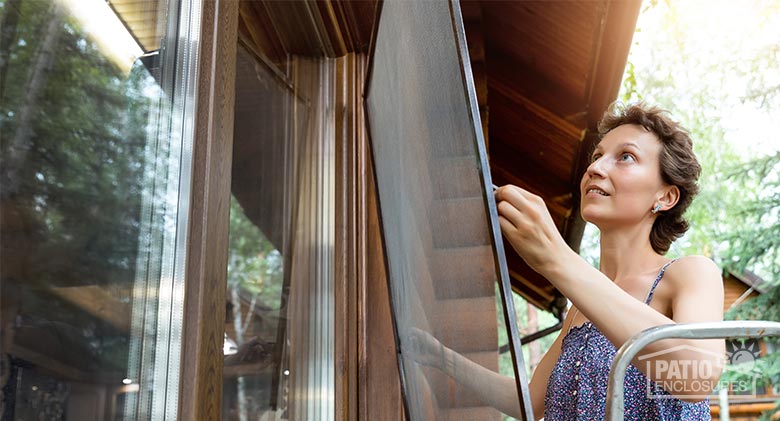
If you need to access high areas of your porch, such as when sealing gaps or inspecting screens, use a ladder safely. Ensure it's stable, on level ground, and follows proper ladder safety guidelines.
As you're winterizing your porch, be mindful of the weather conditions on the day you're working. Slippery surfaces due to rain or snow can increase accident risk. If conditions are unsafe, consider postponing the winterization effort.
By prioritizing safety, you'll create a secure environment for your winterization project, minimizing accident risks and ensuring a smooth and incident-free process.
Step 6: Create a Maintenance Plan
Winterizing your screen porch is not a one-time task; it requires ongoing care to ensure it remains in excellent condition throughout the winter. By creating a maintenance plan and sticking to it, you'll prolong your screen porch's life. Regular care and attention will help you enjoy your winterized porch fully.
Ongoing Maintenance and Winterization of Your Porch will Help Keep Your Porch Looking Like New for Years to Come.
Taking these crucial steps to prepare your screen porch for winter will allow you to save energy and use your porch longer throughout the winter. It may seem daunting, but it's worth your time and effort to follow these simple steps. Make the most of your cozy winterized porch and create lasting memories all season.
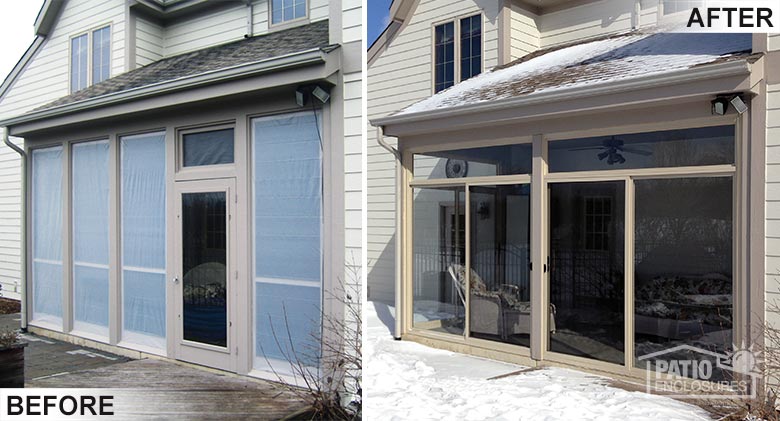
Upgrade Your Screen Room to a Three-Season Room.
If you're tired of the annual hassle of closing down your porch every season, consider upgrading your screen room to a three-season room with Patio Enclosures. Our enclosures utilize glass and screen so you can have the best of both worlds. When the weather turns bad, close the glass—no more fuss with plastic sheeting, etc.
If you already have a Patio Enclosures screen room/porch, you can upgrade your room to a three-season room by adding glass panels. That way, you can enjoy the best of both worlds—open and airy in warm weather and sealed against the elements when winter arrives. Say goodbye to plastic sheeting and enjoy your porch year-round.
Learn more about Three Season Sunroom by requesting a free, in-home estimate using our online form or by calling 800-230-8301.
Learn More About Our Sunrooms
 You May Also Be Interested In: